
Unboxing a new pool table requires careful preparation. Start by unboxing all parts, checking for missing items or damage, and organizing them on a clean, flat surface. Clear your workspace, sweep the area, then inspect each component for cracks, warping, and secure fastenings before assembly to ensure a level and sturdy table.
Unbox and assemble your new pool table with ease! This comprehensive guide walks you through every step, from unpacking the box to final testing. Learn how to inspect for damage, construct the frame, attach legs securely, and level the playing surface perfectly. Discover tips on installing pockets, rails, and fabric, adjusting balls and breaks, and performing a final leveling check. By following these simple steps, your pool table will be set for countless hours of enjoyment.
- Unboxing and Preparing Your Pool Table
- – Unpacking the table and accessories
- – Inspecting for damage during assembly
Unboxing and Preparing Your Pool Table

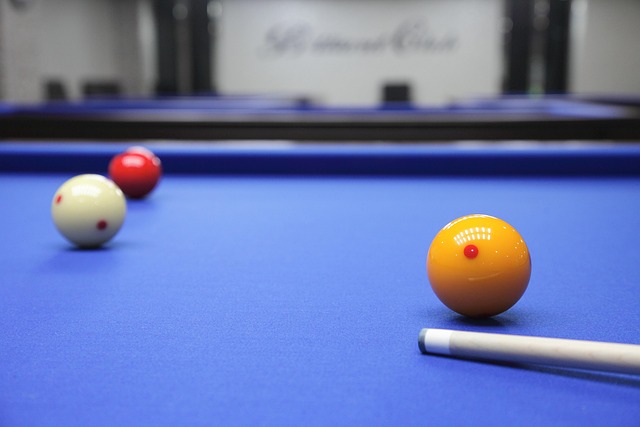
Unboxing your new pool table is an exciting step in bringing this delightful addition to your home or recreational space to life. Before diving into the intricate process of pool table assembly, there are a few crucial preparation steps to ensure everything runs smoothly. Begin by carefully unboxing all the components and removing any protective packaging or wrapping. Lay out the various parts on a flat surface, taking note of how they fit together—this visual representation will be invaluable during assembly. Check for any missing pieces and verify that all hardware is present and in good condition.
Additionally, ensure your workspace is clear and spacious, with ample room to maneuver around the table. Clear any obstacles, and if possible, have a helper nearby to assist with lifting heavier sections. Prepare the area by sweeping and cleaning it to eliminate any debris or dust particles that may interfere with the table’s leveling process later on. With your pool table components organized and your workspace ready, you’re now one step closer to enjoying a perfectly assembled and leveled gaming surface.
– Unpacking the table and accessories

Unpacking a pool table requires careful attention to detail, especially during the initial stages of pool table assembly. Begin by carefully removing all packaging materials from around the table and its accessories. Ensure that all parts are accounted for—the slate, rails, cushions, balls, cues, and any other included items should be laid out for easy access. This meticulous process is a crucial step in ensuring a smooth and accurate pool table assembly.
Inspect each component for damage during unpacking. Check the slate for cracks or warping, inspect the rails for any deformities, and verify that all bolts and screws are present and secure. Properly storing these components in a clean, dry area will further prepare them for the assembly process, ensuring a level and sturdy pool table.
– Inspecting for damage during assembly
When assembling a pool table, one of the critical initial steps is meticulously inspecting it for any damage or defects. Before beginning the setup process, carefully examine all components, especially the table’s frame and slate. Look for signs of warping, cracks, or loose joints, as these issues can compromise the table’s structural integrity and playing surface. Ensure that all pieces are present and in good condition to avoid delays during assembly.
During this inspection, pay close attention to the legs and supports, ensuring they are securely fastened and level. A well-levelled table is essential for consistent ball movement and an enjoyable gaming experience. Any discrepancies found should be addressed promptly to guarantee a high-quality pool table assembly.
Assembly of a pool table is an exciting process, but ensuring proper leveling is crucial for an enjoyable gaming experience. After carefully unboxing and inspecting your table, it’s time to bring it to life. Follow these steps, pay attention to detail, and soon you’ll be enjoying perfect shots with friends and family. Happy billiards!